Jessica Ear Warmer - Free Crochet Pattern
This super modern and cute ear warmer design with oversized bow comes in sizes newborn up to 10 years! A simple yet effective design is now yours for free!

I highly suggest making this headband up in a Superwash merino. Superwash merino has a nice natural stretch to the yarn which makes for an easy headband fit. It is also a yarn with great stitch definition to show off the fabulous Lemon Peel stitch used throughout.
Gauge is obviously important for this project. If in doubt, I would measure the headband after about row 4 or 5 and ensure it fits/is measuring correctly. You want it to be slightly smaller than the head circumference.

Due to the naturally stretchy nature of Merino Wool, it tends to runs a bit thinner than an acrylic yarn. If using acrylic, I would suggest using a thinner 8ply/DK weight yarn.
The full pattern written is below for free, however if you prefer a printable PDF without the Ad's, You can get the download via the below links
If you enjoy this pattern, please check out my other patterns available.
You can also find other free patterns published here.

Jessica Ear Warmer Crochet Pattern
|
|
Fits head circumference |
Ear Warmer Circumference |
Ear Warmer Width |
|
0-3 months |
33-38cm |
33cm |
4.5 |
|
3-6 months |
38-43cm |
37cm |
5.75cm |
|
6-12 months |
41-48cm |
40cm |
6.5cm |
|
1-3 years |
46-51cm |
43cm |
7cm |
|
4-10 years |
48.5-53.5cm |
47cm |
8.5 |
Gauge: *Sc, Dc* repeat Stitch A.k.a – Lemon Peel Stitch
- Stiches per 10cm – 16 stitches across.
- Rows per 10cm – 16 rows.
Stitches - US terms;
Sc - Single Crochet
Dc - Double Crochet
Slst - Slip Stitch
Ch - Chain
Materials;
Yarn – 10Ply Yarn. I highly suggest using Superwash Merino yarn due to its natural stretch. If using acrylic, you may need to drop back to an 8ply/DK weight in order to meet gauge.
4.5mm hook (or hook needed to obtain above gauge)
Yarn needle
The Headband and Bow are both crocheted in the round, each round joining with a Slst to the first stitch in that row. The bow is attached the to headband afterwards.

Pattern is written for size 0-3m with the other 4 sizes noted in brackets and colour coded. E.g - 52 (60,64,68,72). = 0-3m (3-6m, 6-12m, 1-3y, 4-10y).
The Headband and Bow are both crocheted in the round, each round joining with a Slst to the first stitch in that row. The bow is attached the to headband afterwards. Sequences between astericks are repeated the number of times shown – e.g *2Sc, Sc* x5
Sizing is easily adjustable. You can extend/shorten the number of chains in the loop by multiples of 2 and add or remove rounds to change the bow width.
Headband – 4.5mm hook
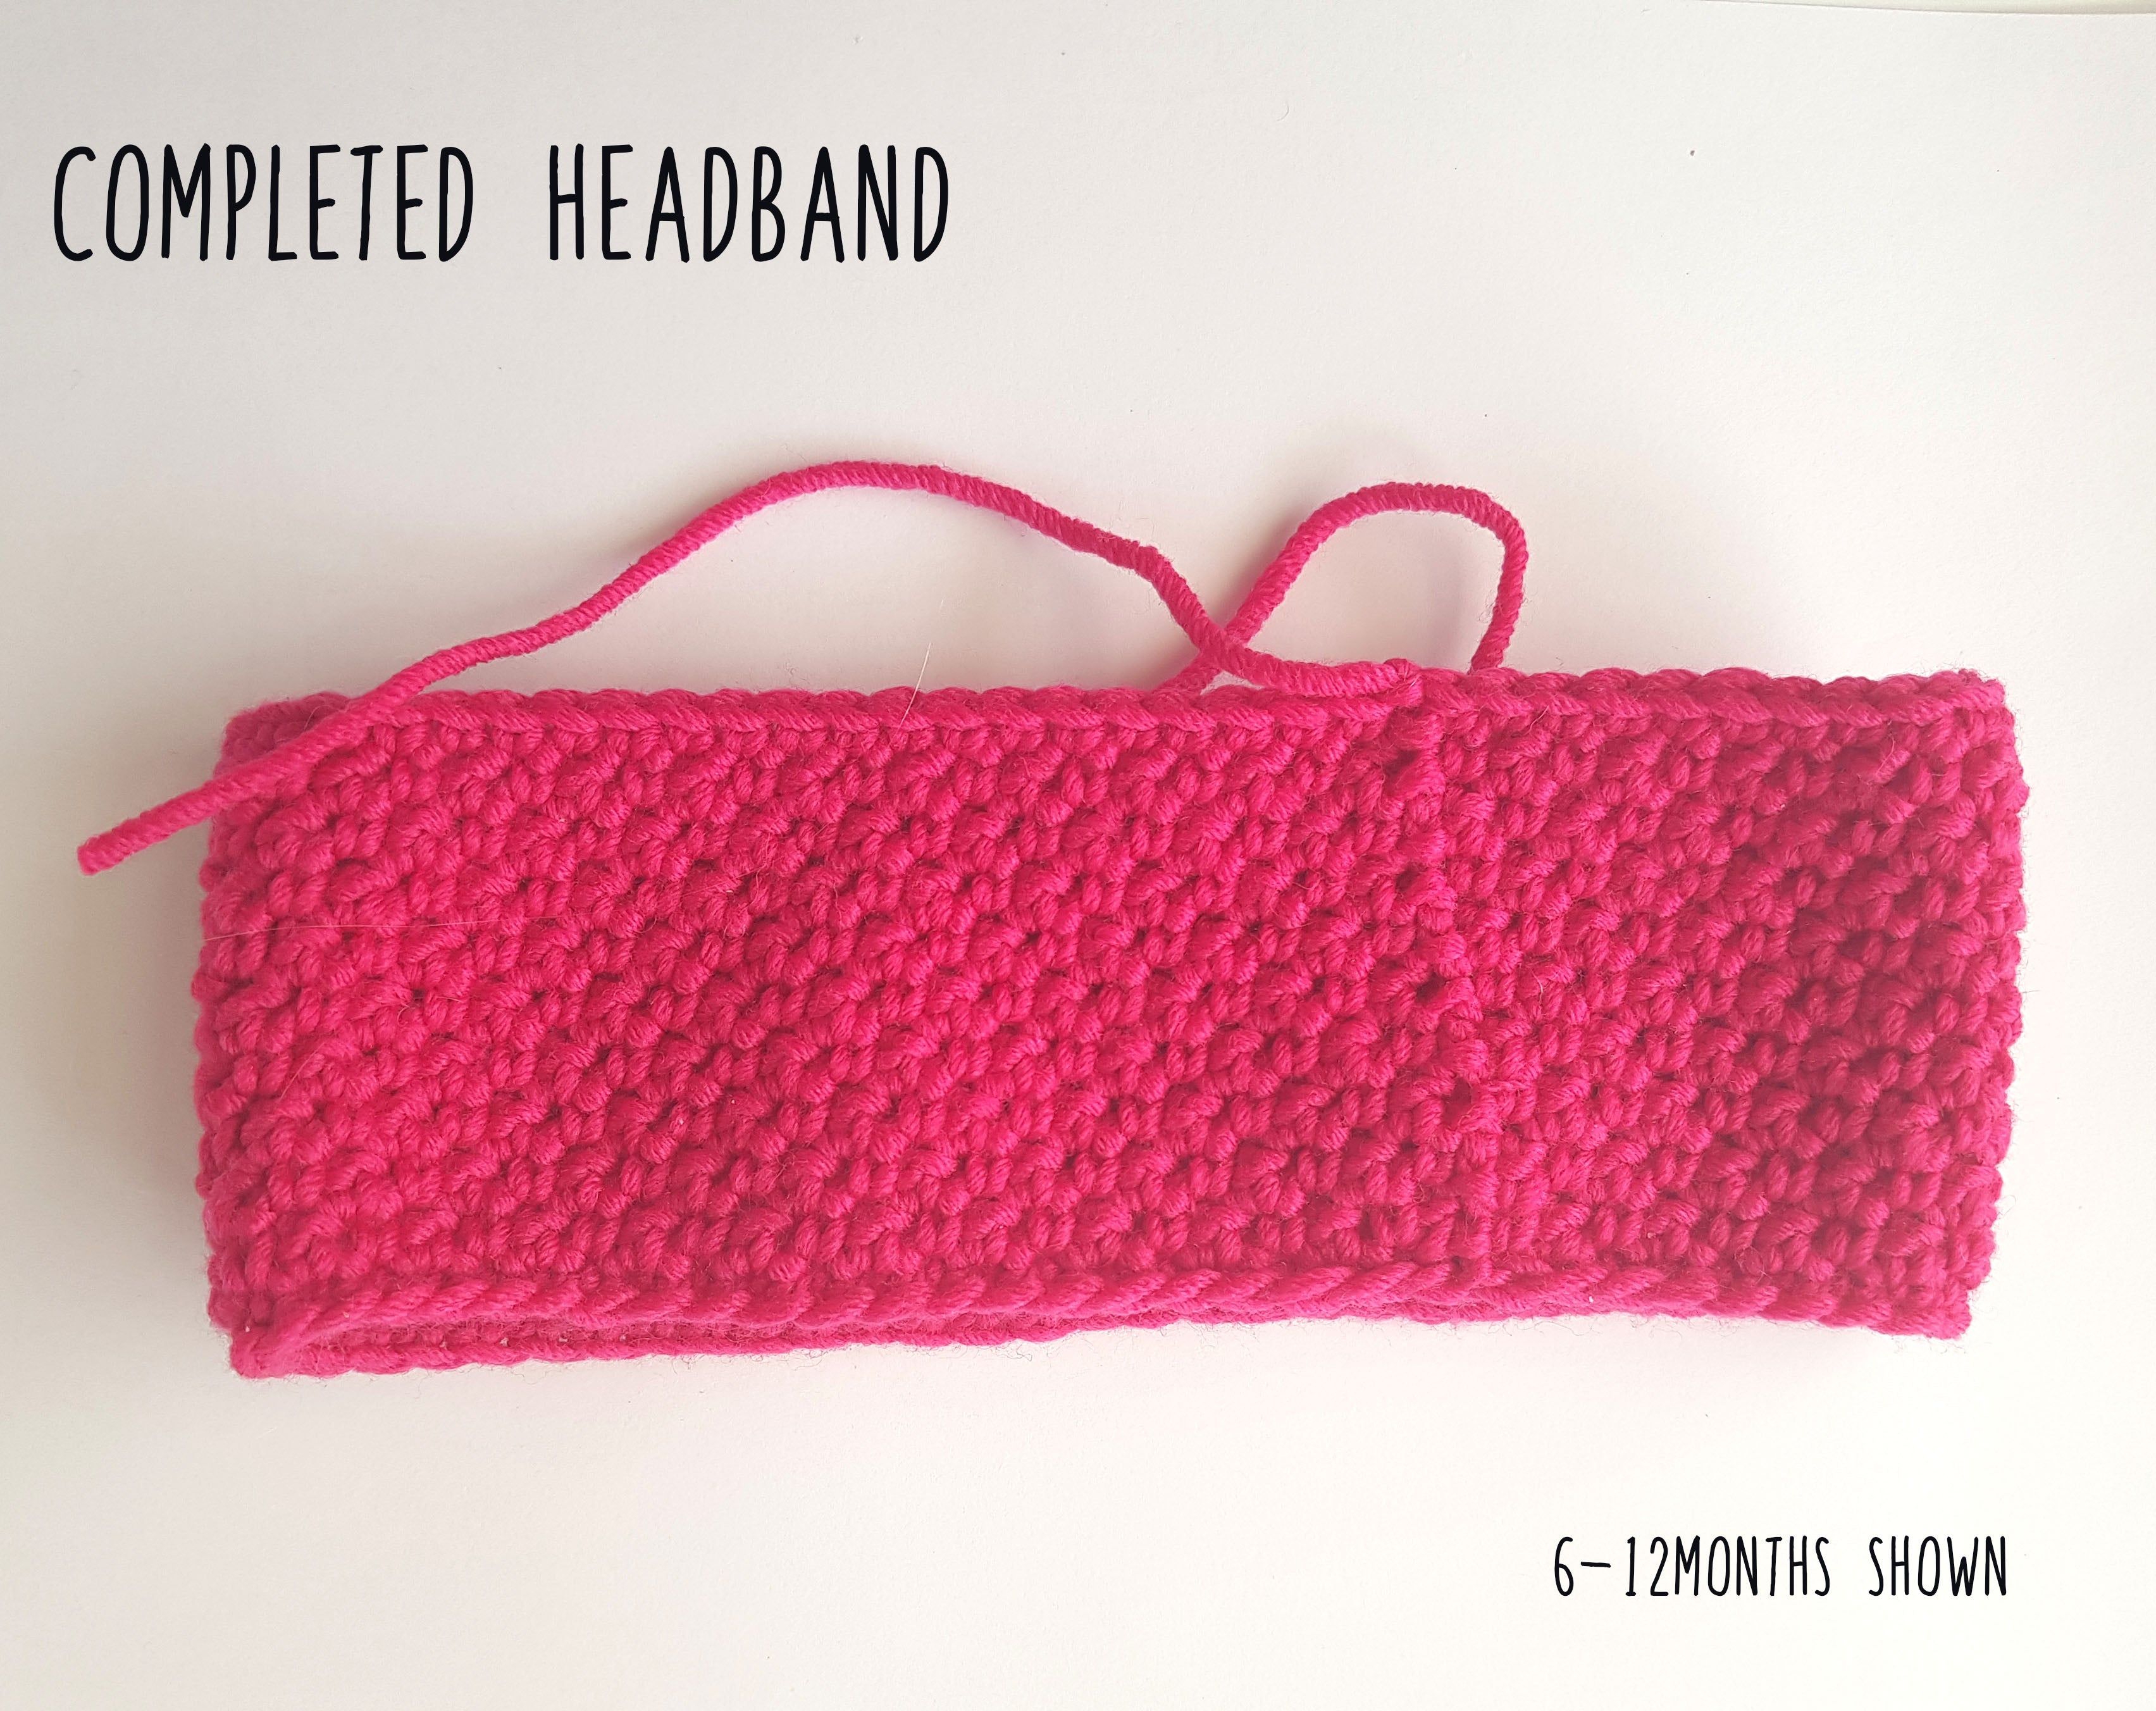
Chain 52 (60,64,68,72). Join to first chain with a SlSt to create a large loop and Ch 1.
Be careful not to twist the chain before joining.

Round 1 – Sc 52 (60,64,68,72), join to first St, Ch 1. (I find working into the back loop of the chain will give a nicer edge with more stretch.)

Round 2 – *Sc, Dc* Repeat for round, join to first St, Ch 2
Round 3 – *Dc, Sc* Repeat for round, join to first St, Ch 1. (If you are doing this stitch correctly, you Sc stitches should be going into the Dc stitches from the previous row and vice versa. This stitch is known as the Lemon Peel Stitch)

Repeat Round 2 & 3 a further 2(3, 3, 4, 5) times.
Repeat Round 2 once more for size 6-12m only, ending with Ch 1 instead of Ch 2.
Round 7(9,10,11,13) – Sc all. Join to first St, Tie off. Weave in ends.

Bow
4.5mm hook
Chain 40 (46, 50, 54, 56). Join to first chain with a Slst and Ch 1.
Round 1 – Sc in all stitches in round, join to first St, Ch 1. (I find working into the back loop of the chain will give a nicer edge with more stretch.)
Round 2 – *Sc, Dc* Repeat for round, join to first St, Ch 2
Round 3 – *Dc, Sc* Repeat for round, join to first St, Ch 1.
Repeat Round 2 & 3 a further 2(3, 3, 4, 5) times.
Repeat Round 2 once more for size 6-12m ending with Ch 1 instead of Ch 2.
Round 7(9,10,11,13) – Sc all. Join to first St, Tie off. Weave in ends.

Attaching the Bow
Lay your ‘Bow’ Section flat with the seam in the center. Using your yarn needle, weave your yarn through both layers as shown. *I have used a contrasting yarn so you can see easier*

Tie one end of your yarn to the edge of the bow. Pull the other end of the yarn to gather the bow in the middle. Wrap the yarn around the bow 3 of 4 times nice and tightly.

Lay the Headband section flat, with the seam in the center facing up. Take the bow section and lay it on top.

Start to wrap the yarn around the bow and the top layer of the headband. Continue to wrap until you are happy with the size of the middle band. Cut and tie off the yarn and weave in the ends.


